
Revitalizing your home: a practical guide to residential painting
It's an opportunity to personalize your home, making it a place that reflects your personality.
Advertisements
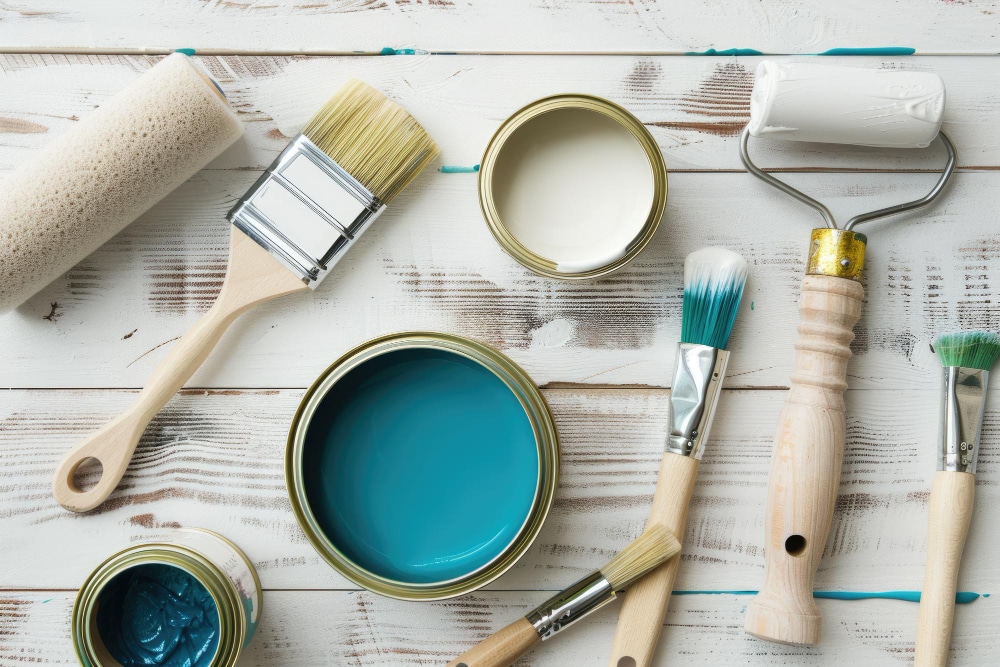
Residential painting has been crucial to the aesthetics and preservation of homes, offering much more than just color and finish. It is an essential process for maintaining and enhancing properties, providing protection from the elements while transforming interiors and exteriors.
From the careful selection of colors to the precise application of products, each step in residential painting aims not only to enhance the look, but also to ensure durability and quality. So, to avoid making mistakes, check out the best tips below.
1. Proper preparation
Before starting any residential painting project, it is important to prepare the surfaces to be painted. To do this, start by cleaning the walls to remove dust, dirt and grease that can affect the adhesion of the paint.
In addition, carefully inspect the surface for old flaking or damaged areas that require repair. In fact, use a putty knife or sandpaper to remove these imperfections, ensuring an even base for the application of the new coat of paint.
Furthermore, protecting the surrounding area is crucial. Covering furniture, floors and other areas that will not be painted prevents unwanted splashes and also makes cleaning up easier later. Furthermore, using masking tape to mark off the areas to be painted provides clean and precise edges.
2. Choice of products
To achieve good results, the product selection process becomes essential. Therefore, choose high-quality paints and primers that meet the specific needs of each surface.
For example, when painting interior walls, choose paints formulated to withstand daily wear and tear and maintain their color for longer. For exterior areas, choose products that offer protection against the elements and resistance to mold and mildew.
In fact, when dealing with wooden surfaces, it is recommended to use specially formulated paints to adhere and protect against cracking and weather-related wear. In this sense, proper surface preparation helps ensure that the paint adheres effectively.
Furthermore, when choosing products, take into account environmental impact and safety. Therefore, choose paints that are low in odor and easy to clean, contributing to a healthier and more comfortable environment during and after application.
3. Environmental protection and preparation
To ensure a clean and organized environment, it is essential to protect the areas around the surface to be painted. To do this, use tarps or plastic to cover furniture, floors and other objects that may be affected by paint splashes.
Additionally, strategic use of masking tape is essential to delimit areas that will not be painted. Apply masking tape along the edges of surfaces adjacent to those that will be painted. This creates a precise barrier that ensures a clean, professional finish.
4. Paint application
First, get all the tools you need ready: brushes for details and rollers for larger areas. Of course, opt for good quality brushes for precise control around edges and corners. Rollers, on the other hand, make it easier to quickly and evenly cover large areas.
Before you begin applying the paint, make sure that the paint is properly mixed and has the correct consistency for the type of application you are planning to use. This will ensure that the color is uniform and that the paint spreads efficiently over the surface.
So when I started painting, start at the edges and corners with a detail brush. Remember to apply the paint evenly and with gentle strokes, avoiding excess paint that could run. This step is crucial to ensure that the most delicate and hard-to-reach areas receive due attention.
For larger areas, use a paint roller, working in small sections at a time. Use parallel, overlapping strokes to ensure even coverage and no seams.
5. Cleaning and maintenance
After finishing applying the paint, take some time to clean the materials used to ensure their durability. In fact, cleaning immediately with water or an appropriate solvent removes paint residue that can harden and compromise the quality of the materials.
Other than that, it is prudent store leftover paint correctly. So, seal the containers tightly and store them in a cool, dry place, away from direct sunlight and extreme temperatures. This will certainly help preserve the consistency and color of the paint for touch-ups or additional projects in the future.
That's it! By following these tips, you will make the painting process easier and ensure a high-quality result for your residential painting. Speaking of painting, did you know that colors have the power to transform? Learn more about color psychology. See you soon!